Custom inputs are an exciting new feature in Seq 5.1. For me, anyway, there's something magical about plug-in systems and being able to extend an app in ways its creators might not have envisaged.
Seq apps are plug-ins that can read or write events to Seq's event stream. The previous post was about outputs - apps that receive events from Seq - and to complete the picture, this post discusses Seq apps that act as_inputs_.
This example is based on the Seq.Input.RabbitMQ repository. If you're keen to follow along, or just impatient to get to the details, you can jump straight over there 🙂.
The plan
Our last example was a bit synthetic. This time around, we'll look at a realistic use case for inputs: receiving events into Seq from a queueing system or message broker.
There are heaps of similar systems out there. The one used in this example is RabbitMQ. It's easy to spin up a test instance with Docker:
docker run --rm -it -p 15672:15672 -p 5672:5672 rabbitmq:3-management
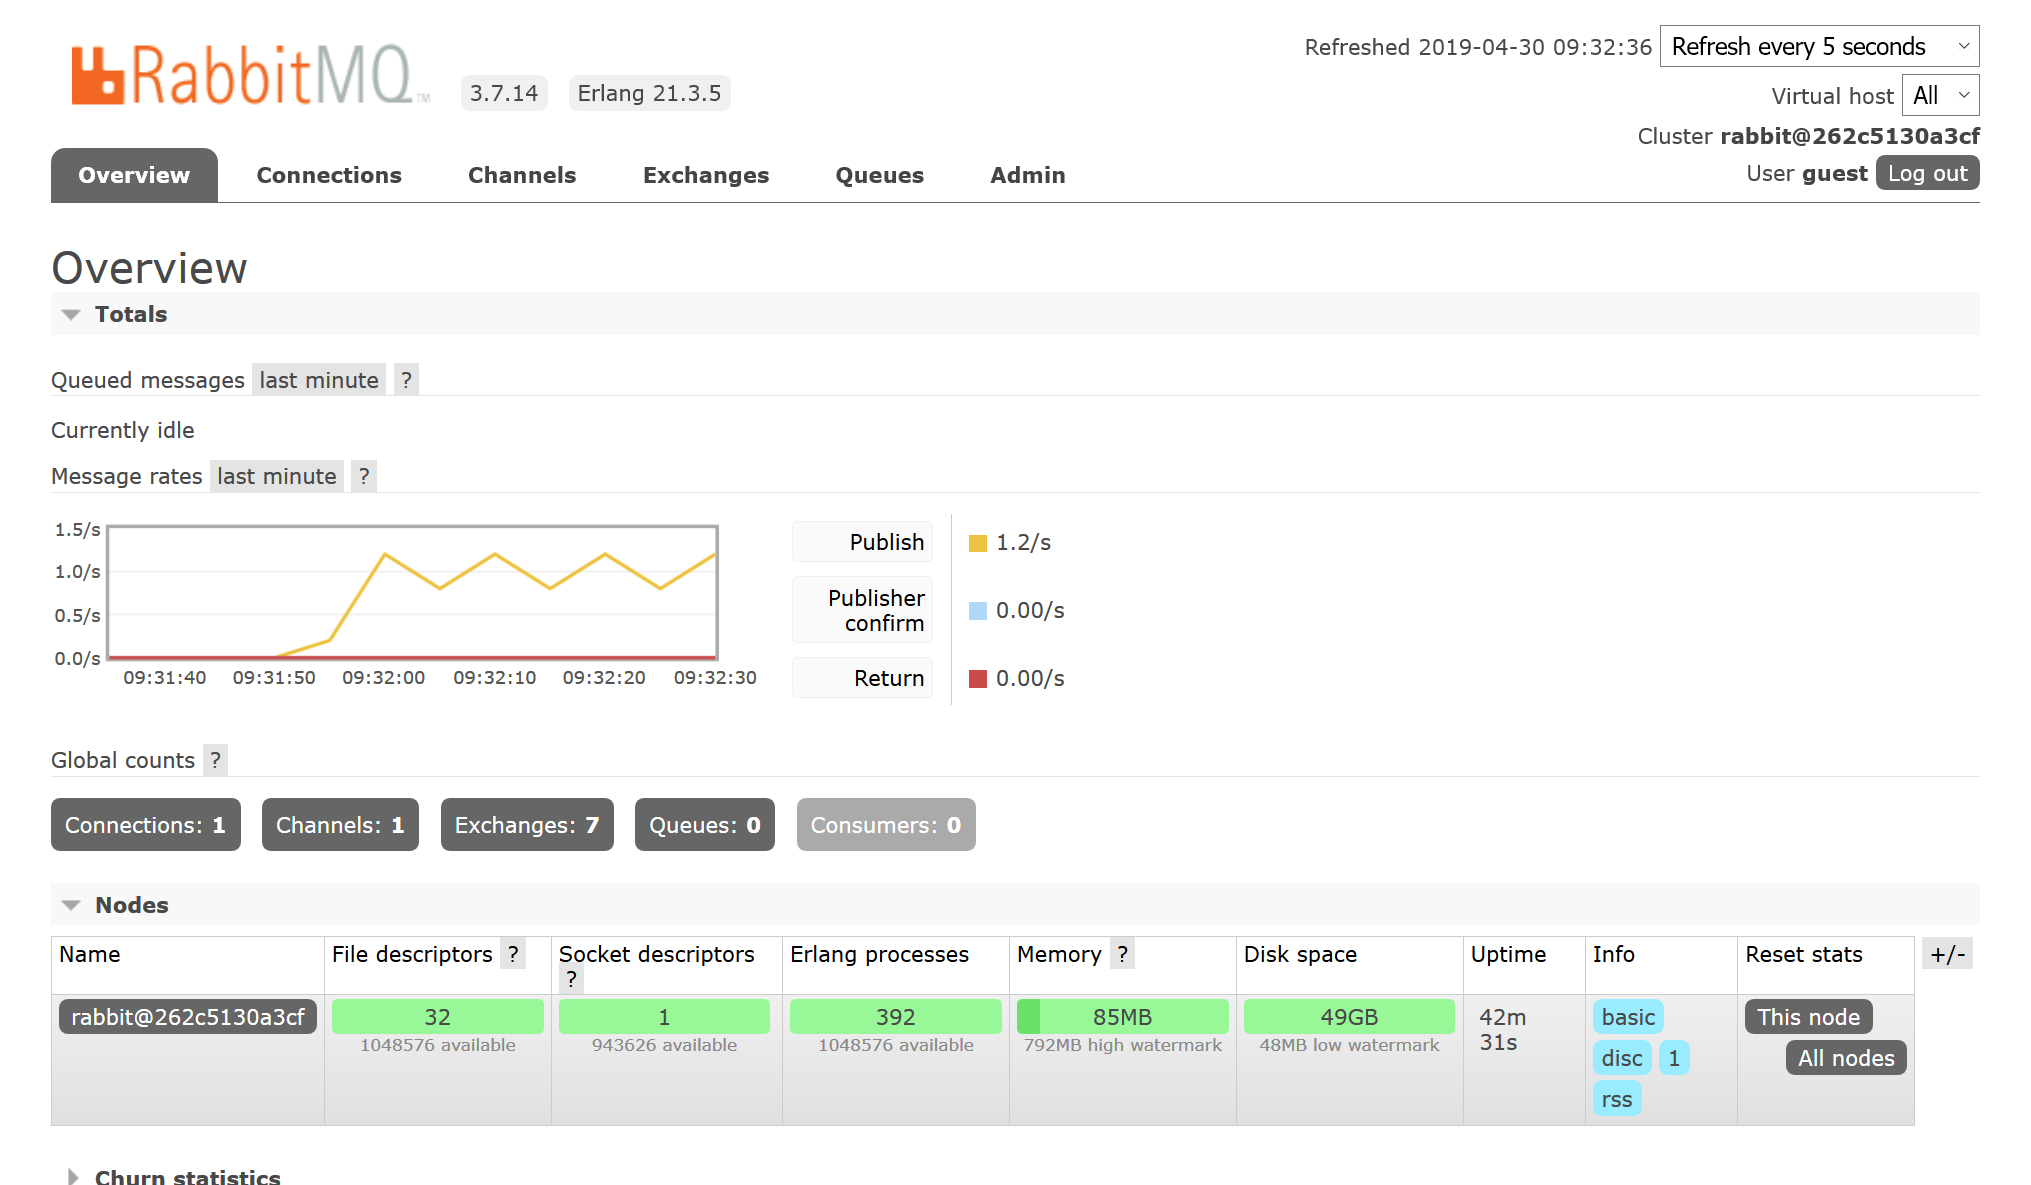
And comes with a nice management UI on http://localhost:15672 (guest/guest):

Not only that, Serilog.Sinks.RabbitMQ and Serilog.Formatting.Compact are ready-made for sending nicely-formatted JSON log events to RabbitMQ. Ideal for our current purposes!
The client app: sending log events
The demo client app is a small console application.
mkdir Demo
cd Demo
dotnet new console
dotnet add package Serilog.Sinks.RabbitMQ
dotnet add package Serilog.Formatting.Compact
All it does is loop and send an event to RabbitMQ each second:
using Serilog;
using Serilog.Formatting.Compact;
using Serilog.Sinks.RabbitMQ.Sinks.RabbitMQ;
using System.Threading;

public class Program
{
    public static void Main()
    {
        var rmq = new RabbitMQConfiguration
        {
            Hostname = "localhost",
            Username = "guest",
            Password = "guest",
            Exchange = "",
            RouteKey = "logs"
        };

        Log.Logger = new LoggerConfiguration()
            .Enrich.WithProperty("Application", "Demo")
            .WriteTo.RabbitMQ(rmq, new CompactJsonFormatter())
            .CreateLogger();

        while (true)
        {
            Log.Information("Yo, RabbitMQ!");
            Thread.Sleep(1000);
        }
    }
}
If you run this and return to the RabbitMQ management console, you'll see the 'publish' rate is about right:
Nothing is subscribed to these messages yet. Our Seq input will set up a subscription and use it to pull these events into Seq's log store.
File > New Project
The setup for input apps is the same as for outputs; we need a netstandard2.x class library, a reference to Seq.Apps, and for this example, RabbitMQ.Client:
mkdir Seq.Input.RabbitMQ
cd Seq.Input.RabbitMQ
dotnet new classlib
dotnet add package Seq.Apps -v 5.1.0
dotnet add package RabbitMQ.Client
🚀
The input [SeqApp] type
The Seq plug-in loader looks for a type marked with [SeqApp]. The main input type needs to be annotated with this attribute:
using System;
using System.IO;
using System.Text;
using Seq.Apps;

namespace Seq.Input.RabbitMQ
{
    [SeqApp("RabbitMQ Input",
        Description = "Pulls JSON-formatted events from a RabbitMQ queue. For details of the " +
                      "supported JSON schema, see " +
                      "https://github.com/serilog/serilog-formatting-compact/#format-details.")]
    public class RabbitMQInput : SeqApp, IPublishJson, IDisposable
    {
This will be largely familiar, if you've written or seen Seq output apps in the past.
What makes this app into an input is the IPublishJson interface. We'll have a look at its mechanics shortly, but first we'll quickly review how the app can be configured with details of the target RabbitMQ server.
        [SeqAppSetting(
            DisplayName = "RabbitMQ host",
            IsOptional = true,
            HelpText = "The hostname on which RabbitMQ is running. The default is `localhost`.")]
        public string RabbitMQHost { get; set; } = "localhost";

        [SeqAppSetting(
            DisplayName = "RabbitMQ port",
            IsOptional = true,
            HelpText = "The port on which the RabbitMQ server is listening. The default is `5672`.")]
        public int RabbitMQPort { get; set; } = 5672;
These two properties supply the host and port that the RabbitMQ broker can be reached via. The [SeqAppSetting] attribute provides all of the information Seq needs to build a user interface for configuring the plug-in. The full source code listing includes several more such properties, including the username, password, queue name, and settings to control how the queue is managed.
Now the all-important IPublishJsonAsync Start() and Stop() methods, along with Dispose(). All of the action is here:
        RabbitMQListener _listener;

        public void Start(TextWriter inputWriter)
        {
            var sync = new object();
            void Receive(byte[] body)
            {
                try
                {
                    lock (sync)
                    {
                        var clef = Encoding.UTF8.GetString(body);
                        inputWriter.WriteLine(clef);
                    }
                }
                catch (Exception ex)
                {
                    Log.Error(ex, "A received message could not be decoded");
                }
            }

            // Several more arguments omitted
            _listener = new RabbitMQListener(Receive, RabbitMQHost, RabbitMQPort);
        }

        public void Stop()
        {
            _listener.Close();
        }

        public void Dispose()
        {
            _listener?.Dispose();
        }
Start() is an implementation of IPublishJson. This somewhat crazy-looking method constructs the RabbitMQListener that will read byte[] messages from RabbitMQ and publish them as JSON through inputWriter.
The Receive() local function plays the dual role of decoding the UTF-8 JSON payloads, and synchronizing access to inputWriter using lock(sync). Although the TextWriter passed into Start() is threadsafe, the output stream needs to be well-formed JSON, and if two threads concurrently try writing to it, it's possible JSON payloads might be interleaved and therefore corrupted.
Behind the scenes, the Seq input infrastructure will handle event validation, and will batch up writes efficiently.
Stop() stops the listener, and Dispose() disposes it. No surprises there 😁.
RabbitMQListener
Check out the full source code listing to see how this class is implemented. It's a very thin adapter over the API provided by RabbitMQ.Client.
Packaging and Publishing
Although Seq Apps use the NuGet package format and metadata, the package installer doesn't attempt to retrieve package dependencies, and so all binaries required by the app need to go into the package.
This is achieved by including the dotnet publish output in the package itself. In the CSPROJ file, the published binaries are included:
<None Include="./obj/publish/**/*"
  Exclude="./obj/publish/Seq.Input.RabbitMQ.dll;./obj/publish/Seq.Apps.dll;./obj/publish/Serilog.dll"
  Pack="true"
  PackagePath="lib/$(TargetFramework)" />
And the build script calls publish ahead of pack:
dotnet publish -c Release -o ./obj/publish
dotnet pack -c Release -o ..\..\artifacts --no-build
The app in Seq
Once the app is installed and configured via the Seq user interface, Seq will start receiving events from the queue:

Learn more
You can learn more about Seq custom inputs, and see more inputs implemented, at:
- The Seq.Input.RabbitMQ GitHub repository
- Seq.Input.AzureEventHub, a similar input for Azure Event Hubs
- Seq.Input.CertificateCheck, an HTTPS certificate expiry monitor
- Seq.Input.HealthCheck, an HTTP endpoint monitor
Until next time, happy (custom) logging!